
- By Ridam Sharma
- Tue, 14 Jul 2026 11:56 AM (IST)
- Source:JND
Denim Apron From Old Jeans: Reusing old clothes is probably one of the most enduring and sustainable ways of living fashionably. Turning your old jeans into a denim apron is not just environmentally friendly but also a way to have a Pinterest-style trendy apron that is practical. The thick denim material does not get stained and is resistant to small water spills while cooking.
How To Convert Old Jeans Into A Stylish Denim Apron
Make your own apron to protect yourself from minor food spills in the kitchen while cooking. Here is a list of materials you need to make a stylish apron from your old pair of jeans:
- - A pair of old jeans (denim material, any colour)
- - Scissors, fabric chalk or pen
- - Measuring Tape
- - Fabric pins
- - Sewing machine (hand-sewing can be used but it takes more time)
- - Matching Thread
- - Safety pin or bodkin to turn apron straps
- - Bias tape, rivets, decorative patches and buttons (optional)
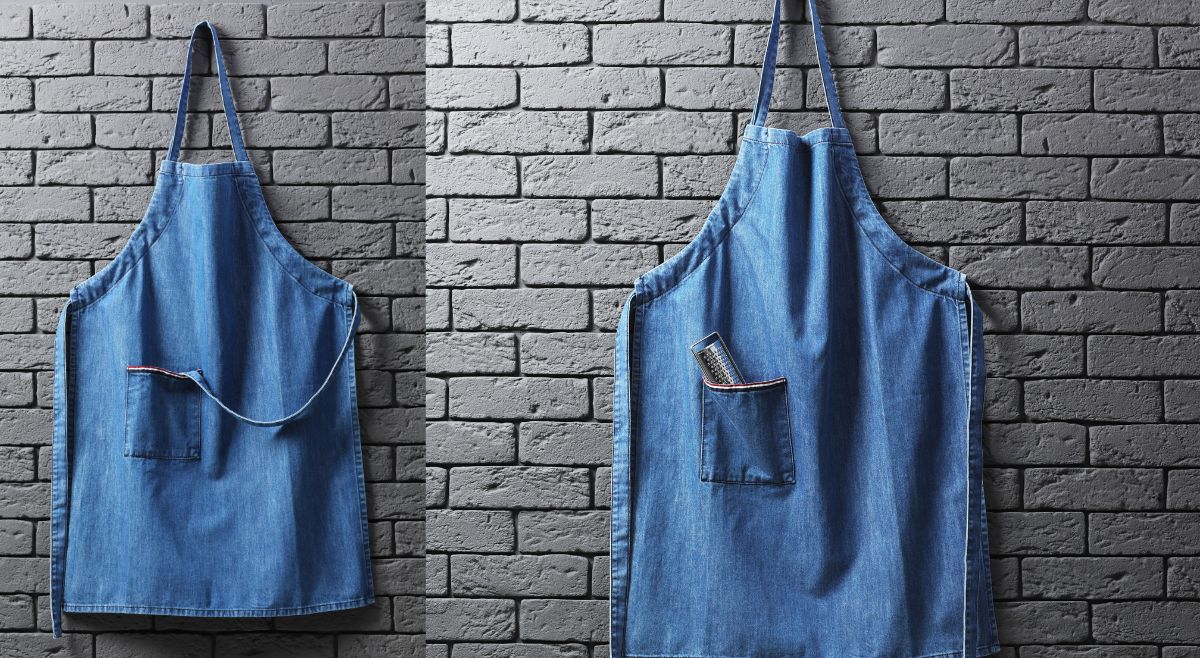
Denim apron from old jeans (Image Credit: Canva)
Convert Old Jeans Into A Denim Apron: Step-By-Step Guide
The thick fabric of denim makes this apron not just cooking-appropriate, but you can also use it for crafting, gardening and grilling. Now, let’s take a look at easy instructions to convert your old pair of jeans into an apron:
- Step 1: Position the jeans horizontally and choose whether your apron will include the waistband part and upper section or the leg sections. In case of using the top (yoke and pockets), you will have some pockets and a waistband for attaching straps. Make cuts around the jeans starting from just below the rear pocket area (above the knee for longer aprons). Get rid of extra material.
- Step 2: In case you chose to work with the waistband section, unfold the cut piece and fix any irregularities. To make an apron look like a traditional one, mark an arc at the bottom corners and cut off some material to make the hem smooth. In case of the wide apron creation, unfold the seam of one leg to enlarge the panel width, then sew the seam shut.
- Step 3: One of the main benefits of working with a jeans top is that you can use already existing pockets. Just add a small top-stitch on the edges to prevent sagging. If you wish, create new pockets by cutting out rectangular parts from the rest of the leg fabric, making the edges of the hem and sewing the pocket on the front part of your apron.
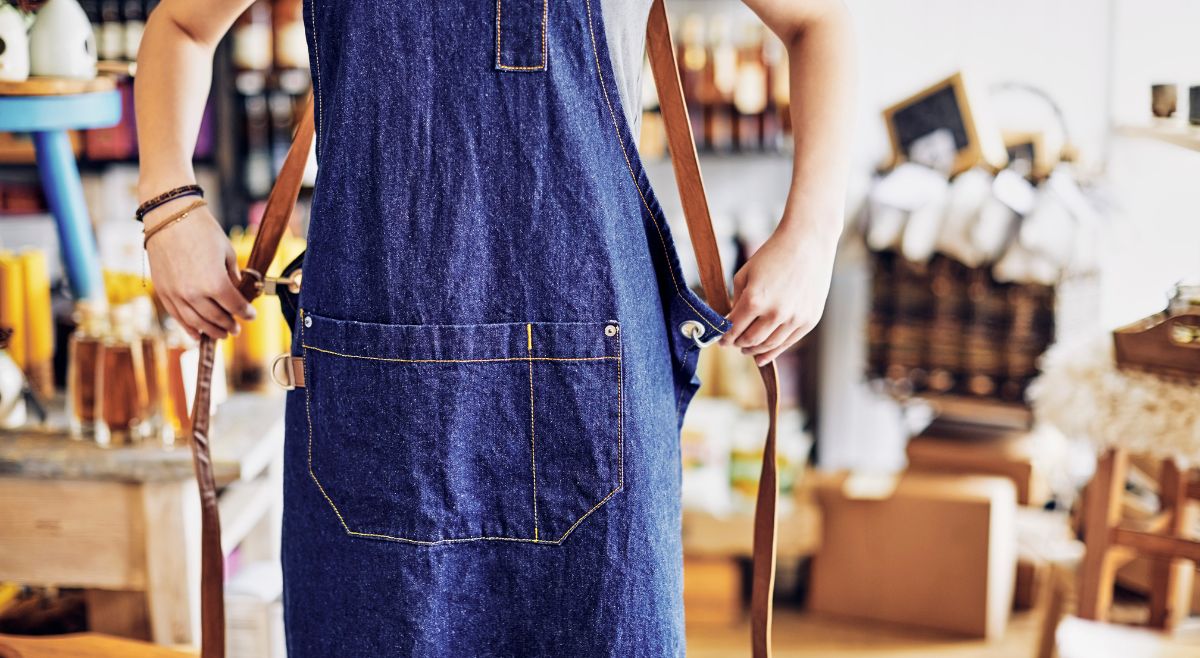
- Step 4: To make the neck strap, you need to cut a 4–6 cm (1.5–2.5 in) strip of the leg fabric or waistband; its length must be about 60–80 cm. You just need to fold it lengthwise, stitch on the long side, and turn it inside out using a safety pin. As for the waist ties, you need to cut 6–8 cm (2.5–3 in) strips, whose length should be about 70–100 cm. Sew on their narrow folded ends. Alternatively, you may use belt loops and the waistband for the rustic style of your apron.
ALSO READ: DIY Curtains: How To Convert Old Sarees Into Beautiful Curtains For Boho-Chic Decor
- Step 5: Place the neck strap near the centre of the apron and pin. Sew it down using multiple lines of stitches or an X box stitch for added durability. Waist ties can be sewn to the side seams or attached to the waistband. Finish all the raw edges by folding the material twice and topstitching them.
- Step 6: Protect pocket corners, straps, and the seams on the sides with patched and bar-tacked areas. Adding small metal rivets makes the apron more durable and gives it a denim look. In case you do not have any rivets available, attach a small piece of denim fabric to the seam on the inside of your garment.
ALSO READ: How To Make Table Cover From Old Curtains: Step-By-Step Guide
Creative Ways To Personalise Your Denim Apron
Some of the creative ways to personalise your denim apron are to decorate it with embroidery, patches, painting, or stencilling. The contrast stitching or decorative topstitching turns the apron from a functional piece to a fashion item. Sew a loop or a key D-ring for towels or keys.
Tips To Make Your DIY Apron Last Longer
Here is a list of a few steps for the maintenance of your DIY apron and to make sure it lasts long:
- - Always pre-wash the completed apron before intense use to get rid of the excess dye and soften the seams.
- - Wash separately when washing for the first time to prevent any colour bleeding.
- - Denim aprons withstand frequent washing; always turn them inside out and wash at low temperatures.